Part Two - How to build the Christmas Story House Paper Model
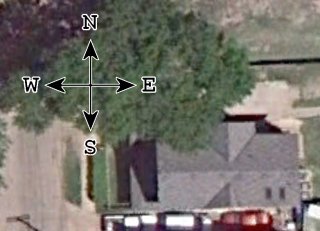
You can see in this edited screen shot from Google Earth, the front of the house and the front porch are on the West.
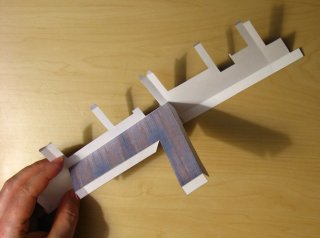
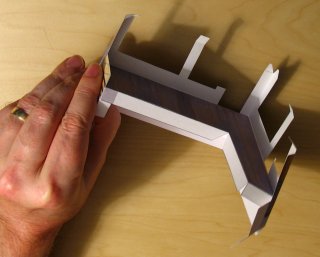
The porch is the most complicated part of the Christmas Story House so I will go into more detail on this part. First I glue the two pieces of the outside of the porch together.
Then I glue the long side (West) of the wooden deck to the front part. I only put glue on one tab at a time here. I use the folded sides to make sure that the deck is correctly in place. I also make sure the deck lines up with the top of the steps shown on the front (West end) of the porch.
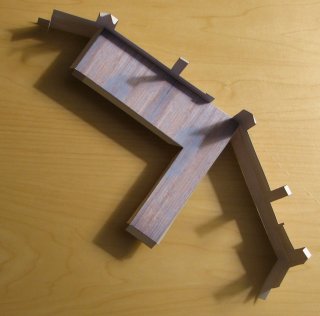
Then glue the north side of the deck.
If everything has gone right then the tab of the deck will fold over the grey tab that wraps around the front side of the deck.
This last side wraps around the East end of the deck. It comes about 1/2mm of exactly matching the size of the deck, but this will be hidden when it is attached to the house.
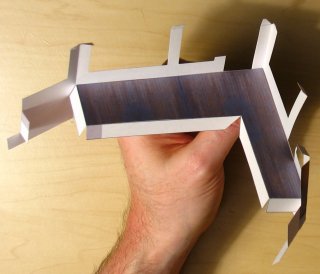
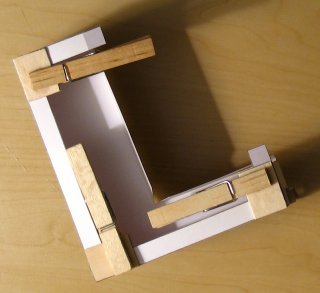
Finally glue the grey tabs at the bottom. It takes just a drop of glue on the grey tabs at the corners. Tip: Here you can see my modified clothespin clamps.
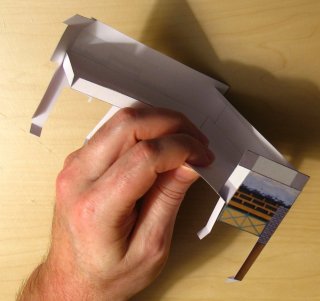
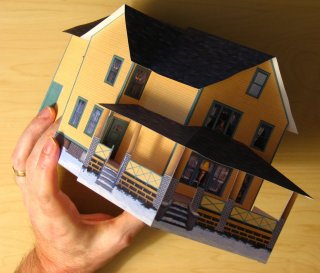
Here you can see the porch attached under the porch roof. But the roof of the porch is not yet attached to the pillars.
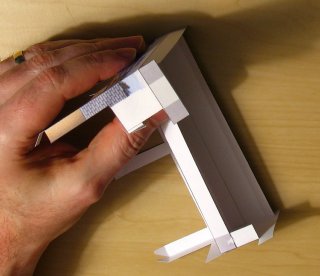
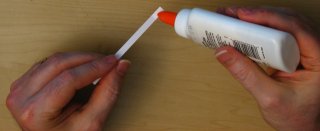
At this point I cut a thin strip of scrap card stock and apply glue to the end.
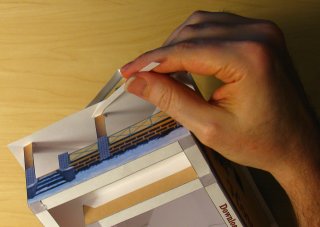
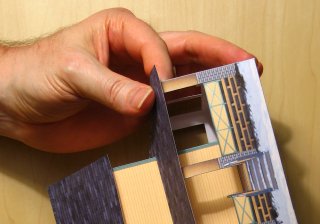
Then I slide the glue scrap in between the porch roof and the top of each pillar.
Hold to make sure that they dry in place.
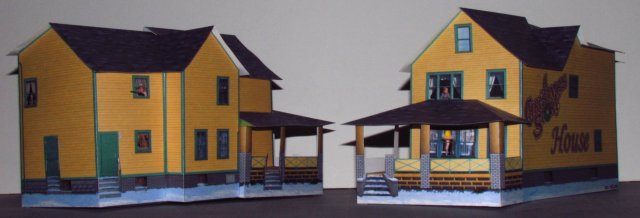
We are finished building "A Christmas Story House"!Now we just need to decide where to display our new paper model. Or give to someone as a hand made Christmas gift. Or better yet build several for you to display and as gifts! Have Fun!
Merry Christmas!
Back to the A Christmas Story Start Page
Our Other Original Paper Models
|
|

